You are using an out of date browser. It may not display this or other websites correctly.
You should upgrade or use an alternative browser.
You should upgrade or use an alternative browser.
Norwegian Mainline finished with Bottlehead Logo
- Thread starter Strikkflypilot
- Start date
Strikkflypilot
New member
Strikkflypilot
New member
Strikkflypilot
New member
Thanks.
I get great advice here, use a lot of time just planning, and don't forget heat shrink and teflon tubing,
adds a certain quality feeling...
Also, this time around, soldering is much easier as I now have a soldering station instead of the 1/4" tipped soldering iron I used for the Crack.
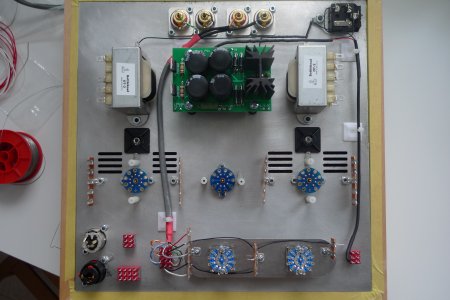
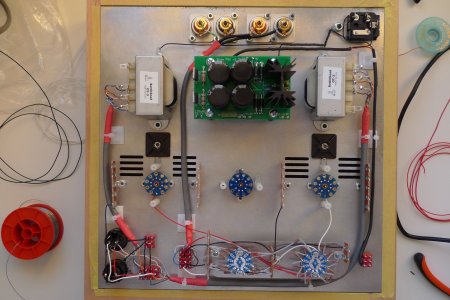
Heater supply done.
I get great advice here, use a lot of time just planning, and don't forget heat shrink and teflon tubing,
adds a certain quality feeling...
Also, this time around, soldering is much easier as I now have a soldering station instead of the 1/4" tipped soldering iron I used for the Crack.
Heater supply done.
Attachments
Strikkflypilot
New member
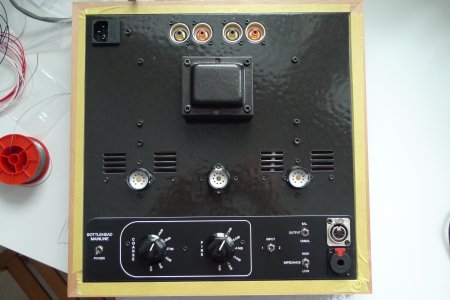
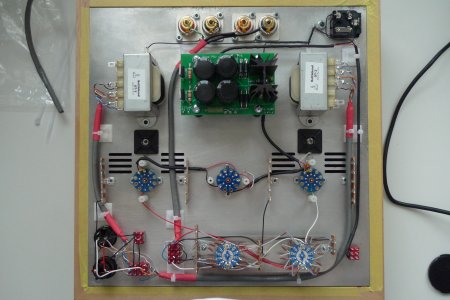
Its alive and kicking")
On the picture is the modified chop stick I used for BIASing.
Paul has already said it is unnecessary as those pot screws don't conduct, but it helps me keep my fingers steady. (Overly?)Terrified of getting a shock...
Well, that's about it... I have only tried it for about 5 minutes, and I am sure, that it, like the Crack, sounds better when properly hot.
Oh, and that PSU heat sink is really tall, it is necessary to mount the feet to not move the top plate upwards when setting the amp down on a surface.
Now for the base job... In due time of course... but it'll be Mahogany again...
Attachments
Grainger49
New member
It is best to mount the feet so that air can come in from the bottom and heat out through the top plate.
Strikkflypilot
New member
Thanks for the heads up, Grainger.
The feet are in place, I was just considering adding a bottom panel.
...And I failed to add the right picture, will post another "inside" shot.
The feet are in place, I was just considering adding a bottom panel.
...And I failed to add the right picture, will post another "inside" shot.
Grainger49
New member
Just drill some holes in the bottom plate. I agree it is a good idea for safety if there are little fingers around. All of those in this house are paws.
Strikkflypilot
New member
Strikkflypilot
New member
Thanks Jamie, really glad You liked it.
As I wrote, I am happy I was unable to rush it. That resulted in a few good ideas, and I think, in a good result.
Also, the manual cannot be praised enough. Great chaptering and really hard to get something really wrong.
I was very happy to see the attenuator resistors packaged neatly and organized with their respective ohm numbers. All in all an impeccable kit with some room for individualization, although I think few will match HF9s build.
That is a super tidy build!
Strikkflypilot
New member
Thank You Paul, I am honored!
Edit: And the music sounds great with my HD-800. This is a true end-game pair.
Edit: And the music sounds great with my HD-800. This is a true end-game pair.
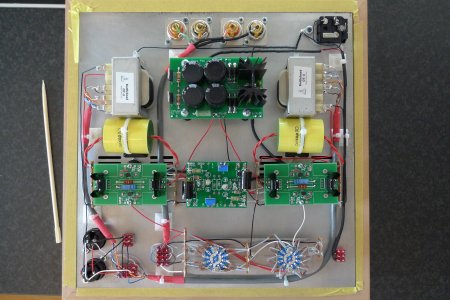
Beautifully clean build! It takes a lot of patience to put together something that neat and tidy. Congrats!!  The XCs look like they came with the kit.
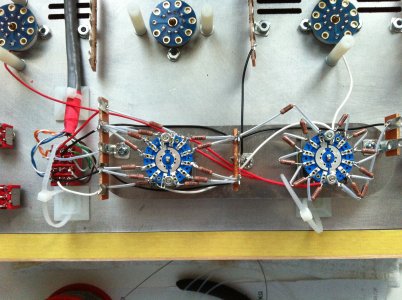
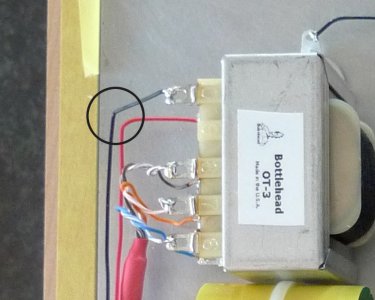
One quick thing I noticed, is the wire intact in this little corner here? Looks like it might have been snagged or something. If you need more to replace it, let me know, I have extra from the build and can mail to you.
The XCs look like they came with the kit. One quick thing I noticed, is the wire intact in this little corner here? Looks like it might have been snagged or something. If you need more to replace it, let me know, I have extra from the build and can mail to you.
Attachments
Strikkflypilot
New member
Thank You for Your compliments and generous offer.
The black cable is bent with a fine round nose plier.
Probably, the shot has been taken from an unfortunate
angle. Might redo that area slightly so the cables to
terminals 1 and 10 look less "free hanging".
Will probably heat shrink/ zip tie.
The black cable is bent with a fine round nose plier.
Probably, the shot has been taken from an unfortunate
angle. Might redo that area slightly so the cables to
terminals 1 and 10 look less "free hanging".
Will probably heat shrink/ zip tie.
Strikkflypilot
New member
Thanks!Wardsweb said:Very nicely done.
I have seen some of Your impressive work.
I am now planning the finish of the chassis of my Mainline.
I love Mahogany stain and French Polish
Strikkflypilot
New member
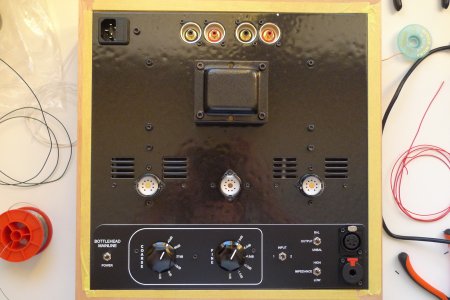
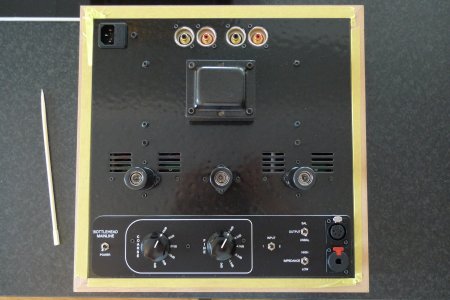
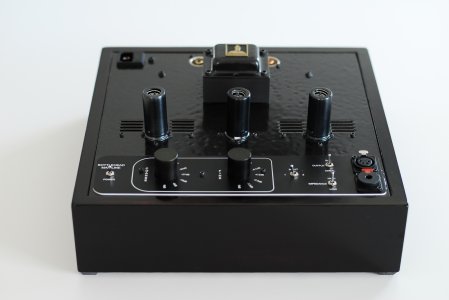
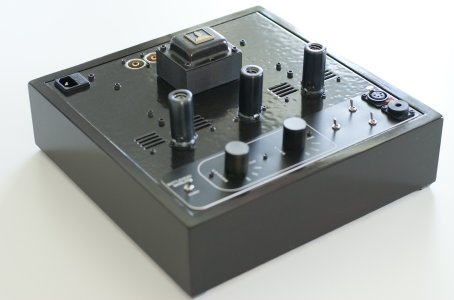
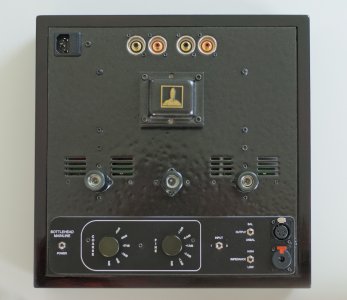
So, finally, after a very long time of fiddling with the french polish.
This beast is complete and to dot the i, the Bottlehead Logo is finally up there on the bell.
Thanks for watching!
This beast is complete and to dot the i, the Bottlehead Logo is finally up there on the bell.
Thanks for watching!
Attachments
Similar threads
- Replies
- 3
- Views
- 155
- Replies
- 2
- Views
- 139