Low voltage on finished Crack (repost)

Dang it, yeah I meant electronics store.

I measured the 7 and 8 pins on the tube and got a resistance around 1 ohms.

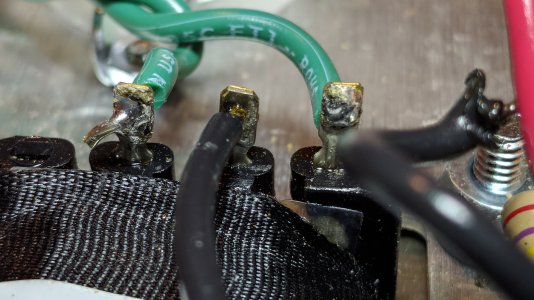
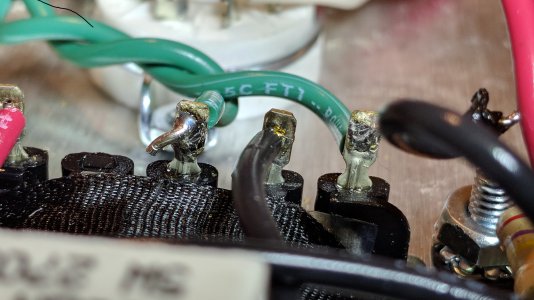
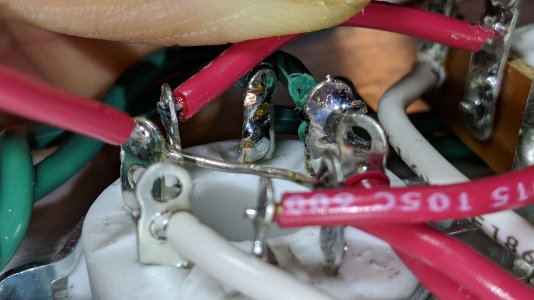
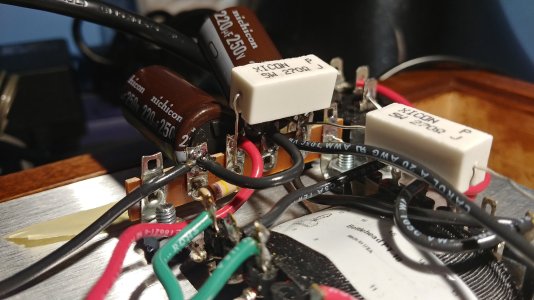
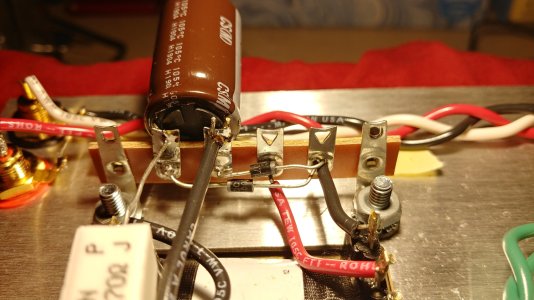
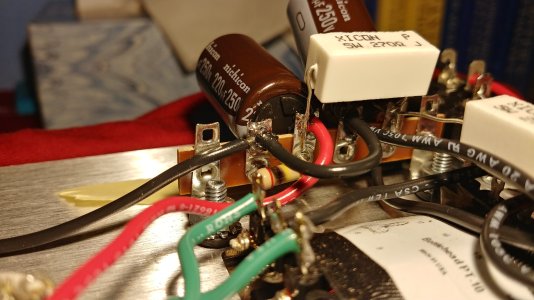
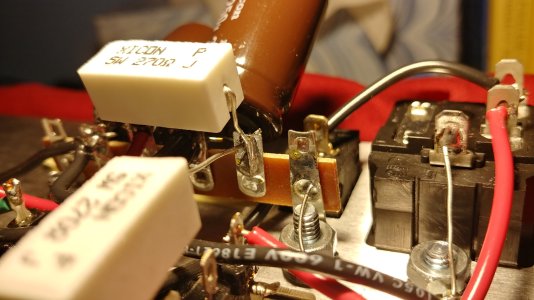
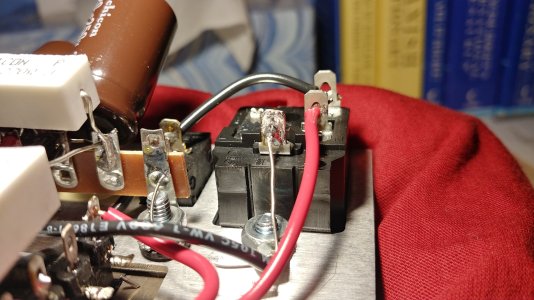
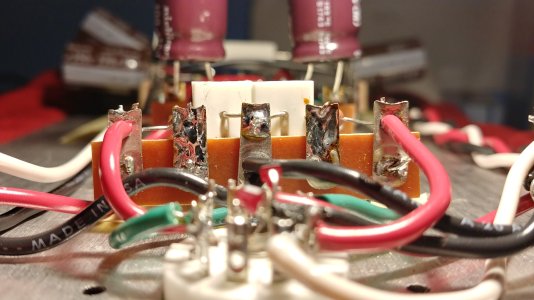
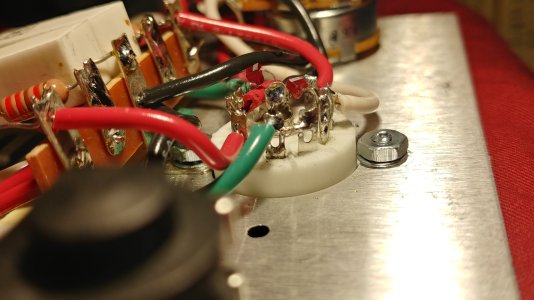
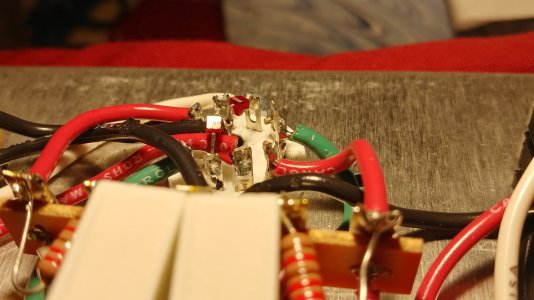
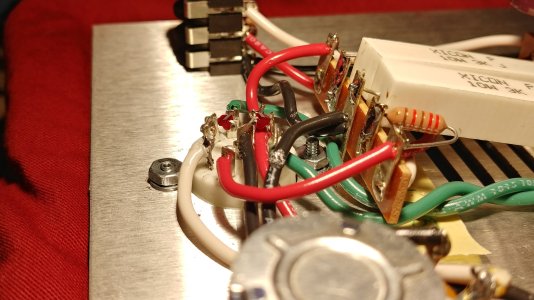
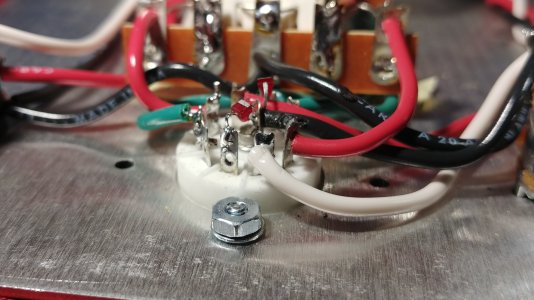
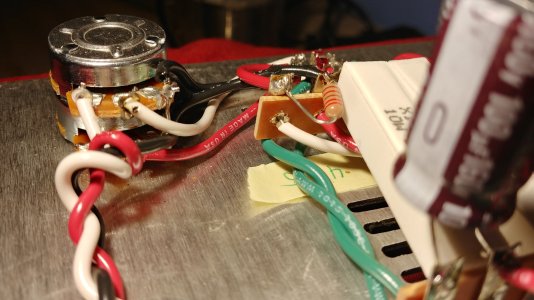
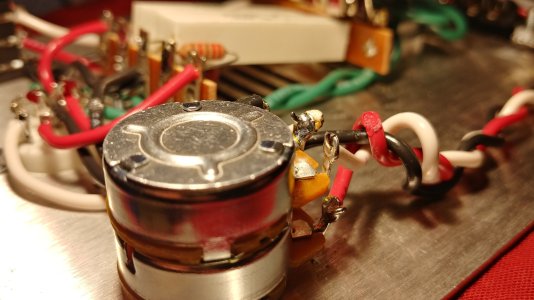
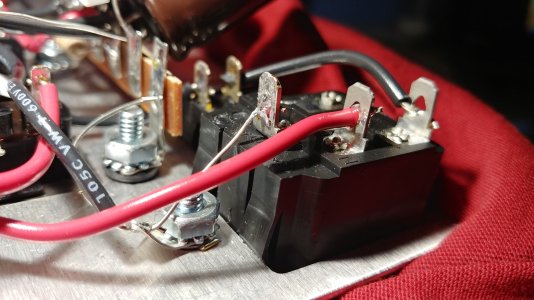
My dad was testing the voltages and resistance using the schematic, and the only issue he found so far was that dead 270ohm resistor. Right now, I'm going to look for any weak soldering joints, weak resistor probe connections, voltages, sawdust etc.  Is there anything else I should look for in the mean time? Do the probes have to be completely through the hole on the terminals if it's connected by solder?

 
You have to get the 6080 glowing before you do anything else.  If pin 7 to 8 on the tube measures 1 ohm, the tube should glow.  Perhaps the green wires running to the octal socket aren't well connected?
 
Hi guys, first off sorry for the radio silence, I had relatives over these past few days, so I didn't have time to work on the amp. Customer service got back to me and said the resistor is headed my way.

I've been inspecting the amp, but so far I don't see any issues with sawdust. My dad inspected the solder joints and everything seems fine.

Here are some photos of the green wires
 

Attachments

  • greenwire1.jpg
    greenwire1.jpg
    617 KB · Views: 21
  • greenwire2.jpg
    greenwire2.jpg
    560.7 KB · Views: 19
  • greenwire3.jpg
    greenwire3.jpg
    1.8 MB · Views: 17
Neither of those green wires is well soldered to the power transformer.  You need to wrap the free end of the wire up and over the transformer terminal, then solder.  The solder should flow into the area where the wire is wrapped around the terminal.

Just poking a wire straight through and hoping the solder will make a good connection is not adequate.
 
Lots of visual examples of good and bad solder joints:

https://www.google.com/search?q=proper+solder+joint&source=lnms&tbm=isch&sa=X&ved=2ahUKEwiGqZONtqnnAhXjmXIEHbYCD2EQ_AUoAXoECA4QAw&biw=1312&bih=693


Being able to see a proper solder joint helps alot. I'm going to study up on this before working on it. Thanks!

As for the wires, yeah it looks like I didn't properly wrap and solder the wire around properly. I cut what I thought to be excess wire after I bended and soldered it. I'll probably strip a bit of the coat off and wrap the wire around
 
Hi, sorry for the late reply. I haven't had time to work on this until recently. I was able to get the 6080 to glow after installing the resistor. All the voltages are in order. However, I ran into a couple of issues

1. There is a channel imbalance with a bias towards the left side. I checked the inputs and they seemed to be wired correctly. Wetted and added a bit of more solder to the red rca but nothing really changed. There also is a very very low hum in the right side, but I have to concentrate to notice it.

2. I had some issues with the audio. When I listened, the bass was boomy, midrange was dry, treble was recessed, and there was little to no soundstage and depth. I wetted and added more solder to any cold joints I could spot and now it's pretty neutral; midbass has drastically reduced to being linear, midrange is a bit sweeter, and treble is more airy. It sounds identical to the Atom. From what I read, the stock crack is supposedly a warm sounding amp, but I'm not too sure if what I have is right or wrong.

One thing to note is that the black wire connecting the headphone output and terminal 12 is soldered on 12u as opposed to 12L. The new resistor is soldered on terminal 13 and 15 standing up. Would that be part of the issue?


Attachments

  • 0oZGYg8 - Imgur.jpg
    0oZGYg8 - Imgur.jpg
    3.2 MB · Views: 8
Re audio/listening issues:

(1) What headphones are you using?

(2) Give the amp time to break/burn-in before doing any critical listening tests. The caps and tubes take time to settle into what will become their normal operating characteristics. To get there, you need to put signal (music) through the amp (with headphones connected or with other suitable load) for at least 50-100 hrs.  The sound can change quite a bit during the break/burn-in period. In my limited experience, the bass is the last thing to finally settle. My approach is to run an amp that needs break/burn-in in 12-20 hr sessions - letting the amp cool to room temp between sessions. 

Re installation issues: Installing a component on the upper vs./ lower lug, or vice versa, shouldn't make any noticeable sonic difference. Same goes for installing the 270R resistor standing up. But I suspect having the resistor flat against the chassis and away from the caps is much better for dissipating heat. Those resistors get hot and caps don't like heat.  PB will be able to tell you whether this is a problem in your case.

cheers, Derek
 
Thanks. This is good advice. I'm running them with my HD 600. As far as burn in, I've ran it for about alittle more than 20 hours approximately. I'll let it burn in more
 
Your description of what the amp sounds like is how I would describe the sound of cold solder joints.

Channel imbalance is somewhat covered in the FAQ sticky on this board, but also be aware that cold solder joints can definitely cause this too.
 
Thanks PB. Are you referring to my current description? I wetted and added solder to any cold joints I could find and the tonality went from dark to neutral. 
 
Can you post a bunch of photos of the build? 

Wetting the joints may not be what you need to do, often what I do is to heat the joint until it flows out, then give it a few more seconds of heat.  For everything but the joints where the LEDs connect, this can take a bit of time. 
 
Here you go. I tried to take as many angles as I could. Apologies if it's a little low on quality. I took the advice from the thread on soldering, but as you can tell it's still not great.

I realize the first joint doesn't have the wire bent correctly, so I'm fixing that as we speak.


Attachments

  • 10 - mSKW49a.jpg
    10 - mSKW49a.jpg
    1 MB · Views: 1
  • 11 - wTSFZ6H.jpg
    11 - wTSFZ6H.jpg
    990.6 KB · Views: 5
  • 12 - ZNdVtYe.jpg
    12 - ZNdVtYe.jpg
    976.3 KB · Views: 5
  • 13 - eD8WTTO.jpg
    13 - eD8WTTO.jpg
    1.2 MB · Views: 3
  • 14 - GSudCoW.jpg
    14 - GSudCoW.jpg
    1.1 MB · Views: 5
  • 15 - EFBV7qe.jpg
    15 - EFBV7qe.jpg
    1 MB · Views: 4
  • 9 - a3Ie1Pb.jpg
    9 - a3Ie1Pb.jpg
    294.7 KB · Views: 2
  • 8 - c67GSFN.jpg
    8 - c67GSFN.jpg
    952.2 KB · Views: 8
  • 7 - eEv6GVI.jpg
    7 - eEv6GVI.jpg
    902.4 KB · Views: 5
  • 6 - VsRCepH.jpg
    6 - VsRCepH.jpg
    828.2 KB · Views: 4
  • 5 - JMyHoXa.jpg
    5 - JMyHoXa.jpg
    861.7 KB · Views: 3
  • 4 - twF8DxJ.jpg
    4 - twF8DxJ.jpg
    970.7 KB · Views: 5
  • 3 - txYihXP.jpg
    3 - txYihXP.jpg
    989.8 KB · Views: 7
  • 2 - rGhsDZ9.jpg
    2 - rGhsDZ9.jpg
    919.3 KB · Views: 6
  • 1 - Sm4nZ8U.jpg
    1 - Sm4nZ8U.jpg
    816.4 KB · Views: 12
  • 16 - 65YCXOI.jpg
    16 - 65YCXOI.jpg
    1.1 MB · Views: 9
You are either dealing with a soldering iron that won't get hot enough (45W minimum, if it's adjustable, turn it all the way up) or lead free solder.  It also helps to wrap component leads and wires around the terminals so the solder has a place to go. 
 
The earth tag on white input terminal picture 14 is an example of a decent solder joint. i.e. not too much solder, and is smooth and shiny. Try and match this standard throughout.

I can recommend Cardas solder. A little expensive but if you don't solder on a daily basis a small coil like this will do a Crack and Speedball with leftovers. Very easy melt and flow and very nice to use.
https://www.ebay.co.uk/i/162116066532?chn=ps&norover=1&mkevt=1&mkrid=710-134428-41853-0&mkcid=2&itemid=162116066532&targetid=855313181933&device=c&mktype=pla&googleloc=1006618&poi=&campaignid=6619151996&mkgroupid=88031187549&rlsatarget=pla-855313181933&abcId=1140496&merchantid=115579357&gclid=CjwKCAiAp5nyBRABEiwApTwjXrtCnfX1PiXqulglv6DOdNjZauBIZ64ltrTdOnkYQMEdJ4WzpH_1XhoChcwQAvD_BwE
 
+1 on Deluk's recommendation of Cardas Quad Eutectic solder. Despite its silver content, in my limited experience it melts and flows more easily than any other solder I've used. For lower temp soldering (e.g., with an iron that doesn't put out many watts), it works extremely well.

Besides price, the only downside I've found to the stuff is that its rosin leaves a brownish crust on the joint. But the crust is easily removed if you don't like the appearance. I usually leave it.
 
Back
Top