dawnchorus
New member
Hi all,
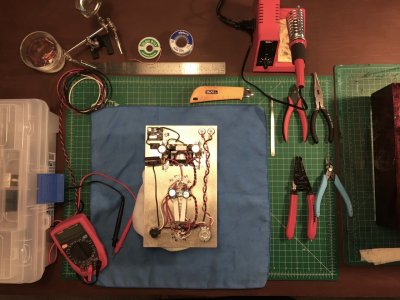
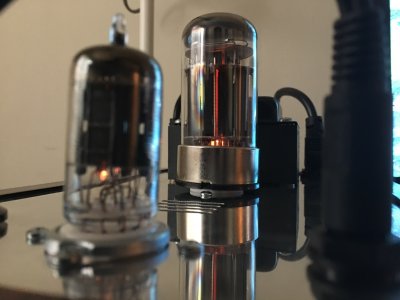
Finally finished my Crack with the Speedball upgrade. It was amazing fun to build and sounds beautiful, I listened to it for about a week without the Speedball and it makes a massive difference.
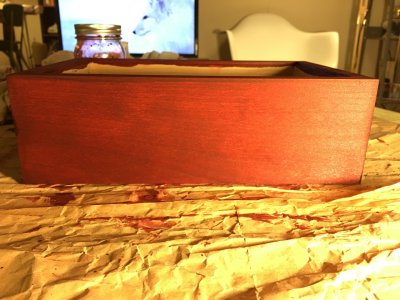
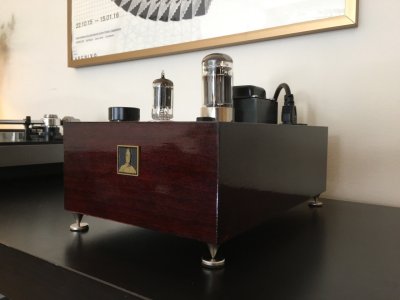
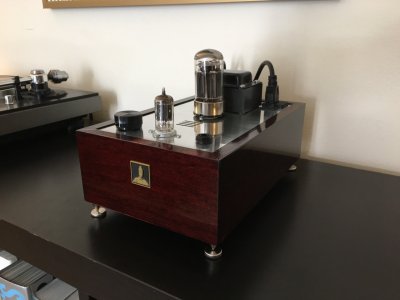
After sanding the base, I used J.E. Moser's aniline dye and finished it with five coats of Spar Varnish. I let each coat of varnish dry overnight and then sanded with 400-grit sandpaper each time to get a smooth finish.
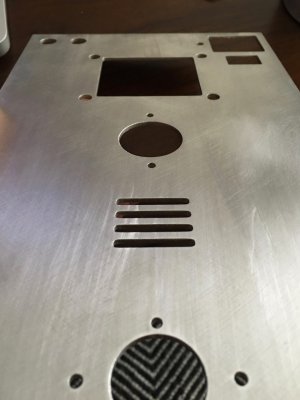
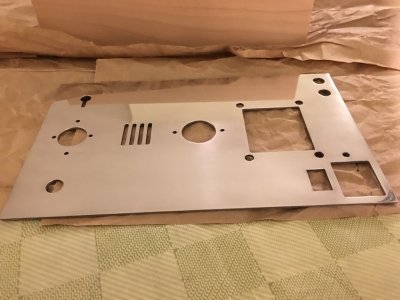
The top plate took a crazy amount of hours to get the mirror finish. I started with 200-grit and worked my way up to a 2000-grit wet sand. After that I used S100 Polishing Soap and then Blue Magic Metal Polish Cream. I also swapped out the volume knob for a solid aluminum one.
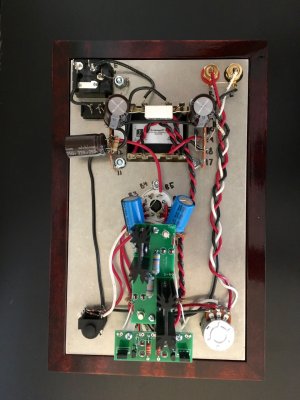
I also did the pot mod (thanks to adeep42 for the resistors) and headphone jack voltage mod after these photos were taken. I think my next project will be a matching Eros. Let me know what you guys think!
Finally finished my Crack with the Speedball upgrade. It was amazing fun to build and sounds beautiful, I listened to it for about a week without the Speedball and it makes a massive difference.
After sanding the base, I used J.E. Moser's aniline dye and finished it with five coats of Spar Varnish. I let each coat of varnish dry overnight and then sanded with 400-grit sandpaper each time to get a smooth finish.
The top plate took a crazy amount of hours to get the mirror finish. I started with 200-grit and worked my way up to a 2000-grit wet sand. After that I used S100 Polishing Soap and then Blue Magic Metal Polish Cream. I also swapped out the volume knob for a solid aluminum one.
I also did the pot mod (thanks to adeep42 for the resistors) and headphone jack voltage mod after these photos were taken. I think my next project will be a matching Eros. Let me know what you guys think!
Attachments
-
 IMG_7407.jpg170.8 KB · Views: 167
 -
 IMG_7479.jpg208.8 KB · Views: 169
 -
 IMG_7482.jpg302.9 KB · Views: 214
 -
 IMG_7776.jpg302.6 KB · Views: 219
 -
 IMG_8116.jpg176 KB · Views: 201
 -
 IMG_8398.jpg175.1 KB · Views: 459
 -
 IMG_8399.jpg173.1 KB · Views: 243
 -
 IMG_8401.jpg176.1 KB · Views: 324
 -
 IMG_8405.jpg315 KB · Views: 269