Natural Sound said:I think they have a 12 step program for that.")
Yeah, which includes buying 8 more Crack kits.
Natural Sound said:I think they have a 12 step program for that.
")
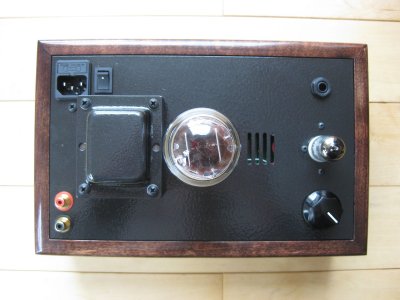
Sticking with the US convention it should really be black for neutral and white for live.
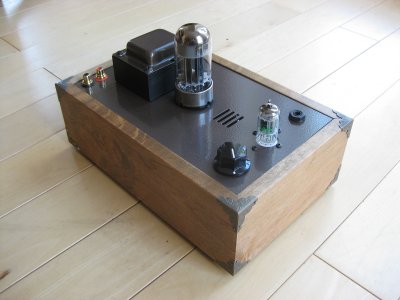
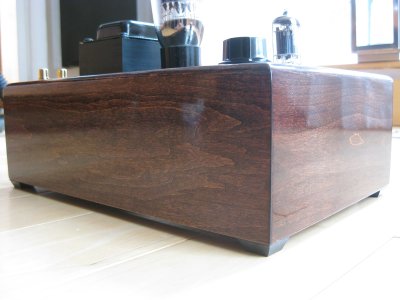
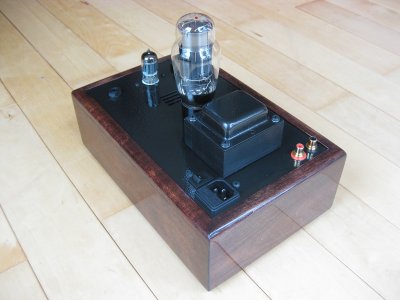
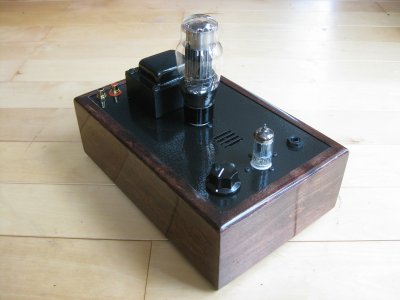
JamieMcC said:Neat I like the vintage look to the corners
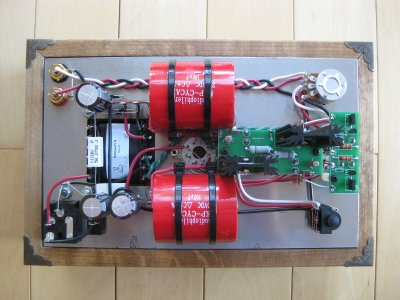
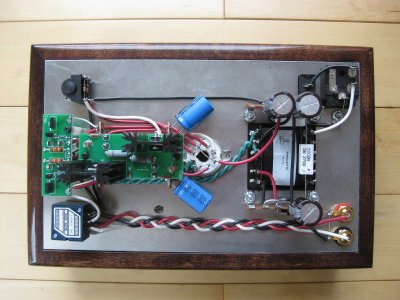
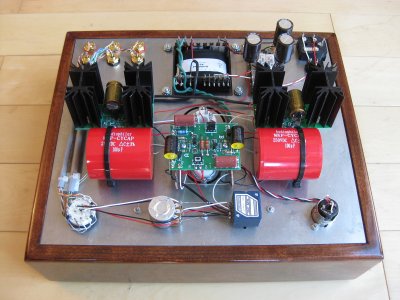
So what’s the verdict on those big red Chinese caps ?
Doc B. said:That is backwards. White is neutral and black is live in US AC wiring.
The amp looks great!
BZ58 said:If you take more pictures I would like to request that you take some close up angles of your Speedball soldering. I'm going to be adding it in a few weeks and would like to have as much reference as possible.
adeep42 said:Does the Alps Blue Pot require any mods and is the wiring the same as the standard pot?
We use essential cookies to make this site work, and optional cookies to enhance your experience.