JamieMcC
New member
Hey guys I’m really enjoying the Eros build so far and as soon as my little ones are safely out of the way upstairs enjoying their bed time story with mum I get the chance to reclaim our dining room table get the soldering iron out and make a little bit more progress.
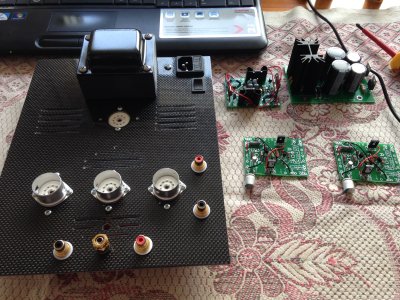
All has gone reasonably well so far and tonight fingers crossed the goal is to successfully completed the transformer tests and check it off the list.
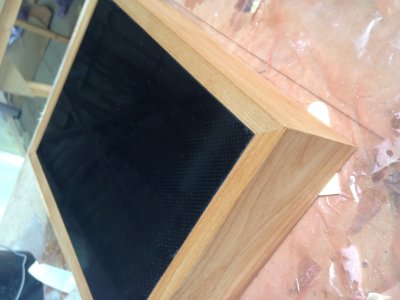
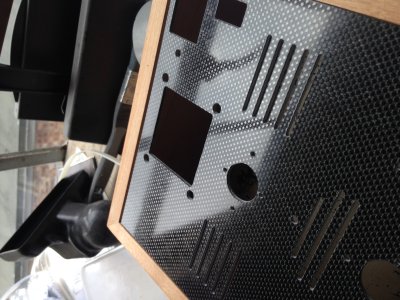
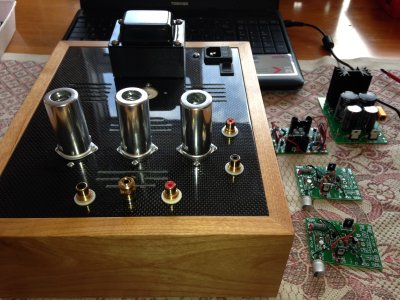
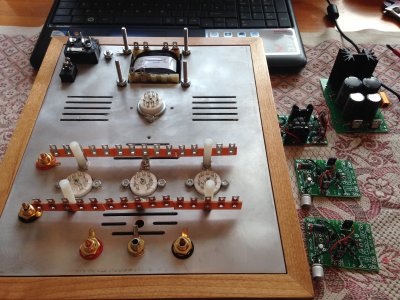
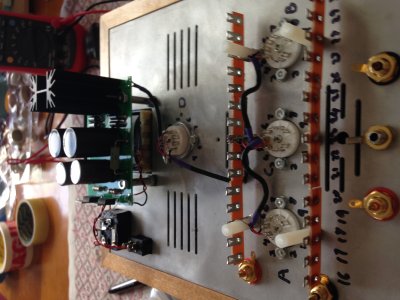
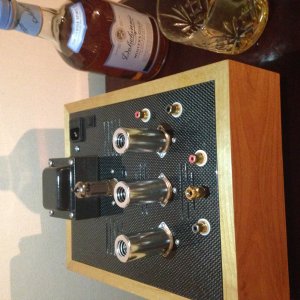
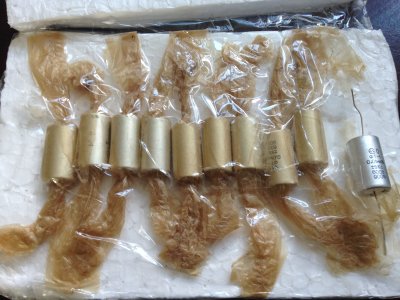
Here are a few progress pics of how its coming together for you
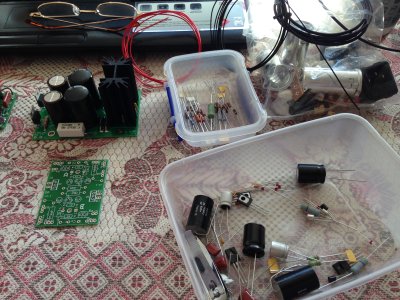
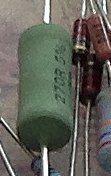
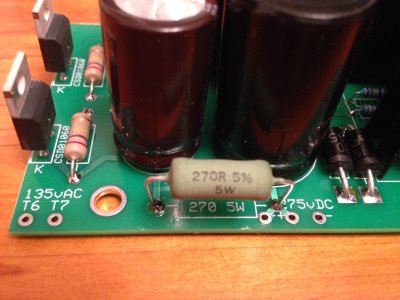
You might notice the 5W 270 Ohm cement resistor which is sitting close to the pcb board the one from the kit was missing and I had one which I had pulled from a Crack when changing it for a choke there wasn’t much left of the leads so it went in but I ended up swapping out for a metal shielded one I had a couple of in the parts box so its stands off of the pcb a bit more. As I have a couple of chokes as well I suspect I will try one of those out at some point in the future.
All has gone reasonably well so far and tonight fingers crossed the goal is to successfully completed the transformer tests and check it off the list.
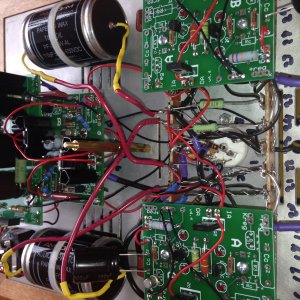
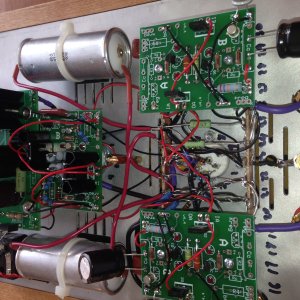
Here are a few progress pics of how its coming together for you
You might notice the 5W 270 Ohm cement resistor which is sitting close to the pcb board the one from the kit was missing and I had one which I had pulled from a Crack when changing it for a choke there wasn’t much left of the leads so it went in but I ended up swapping out for a metal shielded one I had a couple of in the parts box so its stands off of the pcb a bit more. As I have a couple of chokes as well I suspect I will try one of those out at some point in the future.