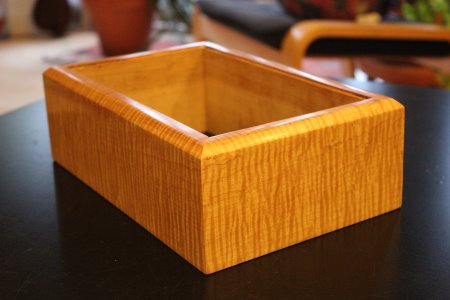
Hi everyone
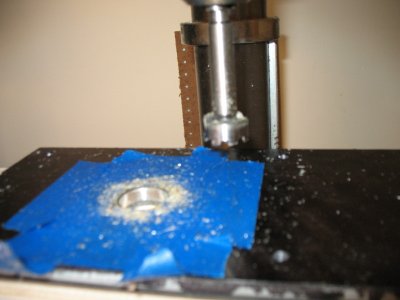
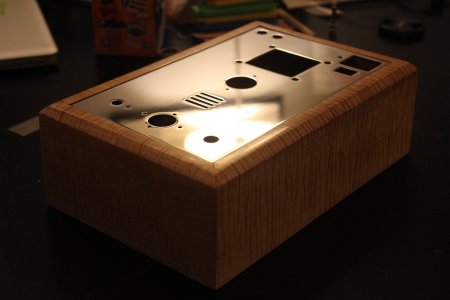
my crack is on its way and I should receive it in couple of days (wouhou !!). In the meantime I wanted to share with you the custom wooden base I've built couple of days ago.
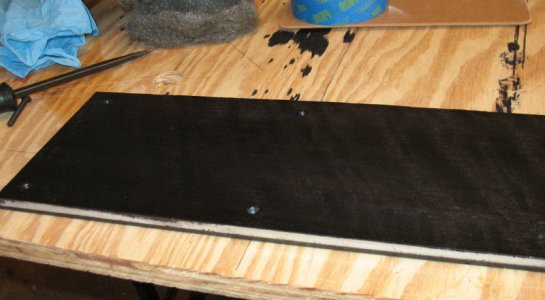
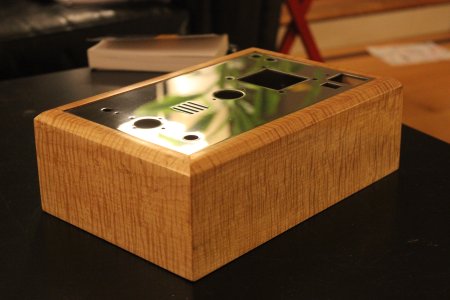
Flamed maple with couple of discrete bird's eyes. Very (very) fine sanding // shellac washcoat // 2 coat of dyeing // handmade french polish (not finished, only one pass done) // many other fine sanding between each steps.
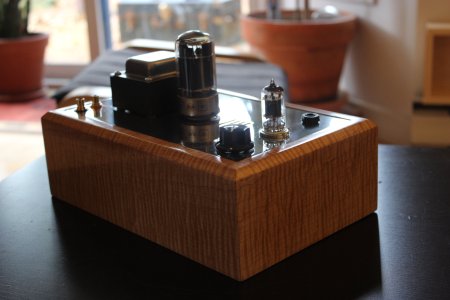
I'm very impatient to receive my Crack. I'm much more confident in woodworking than soldering and hope the building will be fine. What I worry the most is cold soldering.. I don't know if could even notice them by myself if I do some. Anyway, if I have questions I'll ask here..
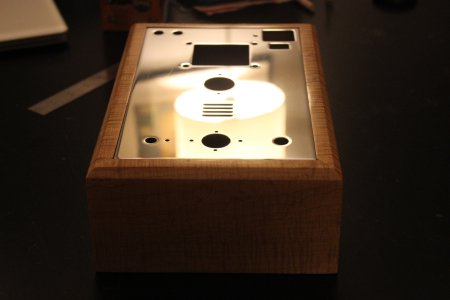
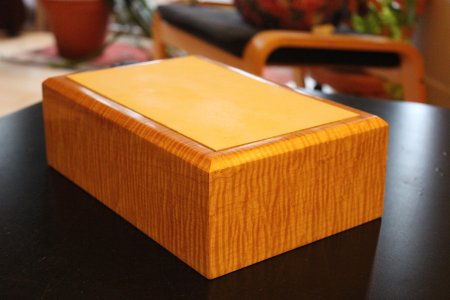
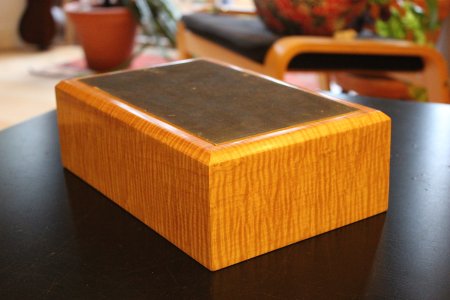
Almost forgot, I coloured in back and white the two faces of my template. I think I'll go with the white/ivory top... opinions ??")
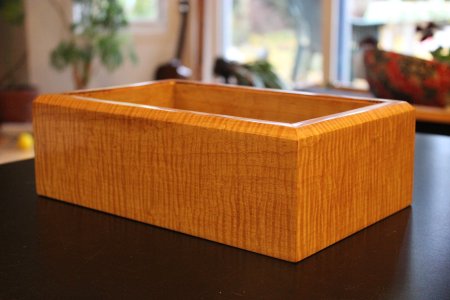
my crack is on its way and I should receive it in couple of days (wouhou !!). In the meantime I wanted to share with you the custom wooden base I've built couple of days ago.
Flamed maple with couple of discrete bird's eyes. Very (very) fine sanding // shellac washcoat // 2 coat of dyeing // handmade french polish (not finished, only one pass done) // many other fine sanding between each steps.
I'm very impatient to receive my Crack. I'm much more confident in woodworking than soldering and hope the building will be fine. What I worry the most is cold soldering.. I don't know if could even notice them by myself if I do some. Anyway, if I have questions I'll ask here..
Almost forgot, I coloured in back and white the two faces of my template. I think I'll go with the white/ivory top... opinions ??
")