Bottlehead crack crosstalk issue

iTM_Havok

New member
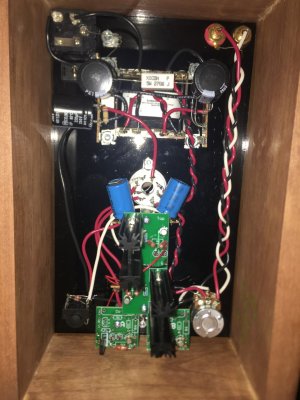
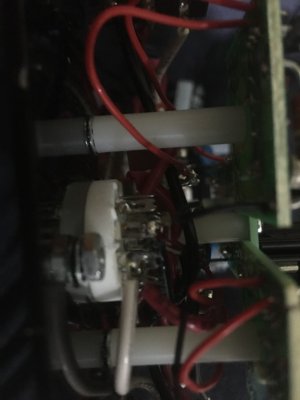
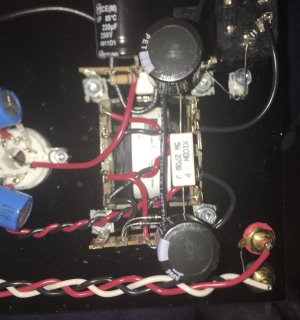
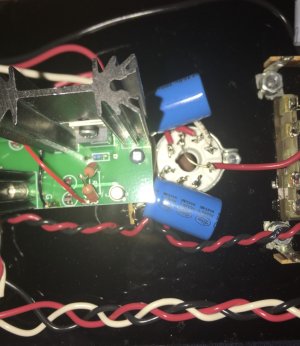
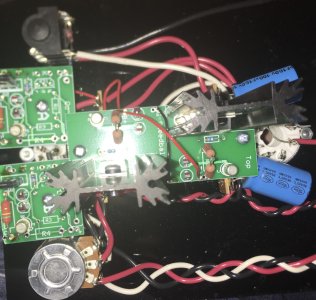
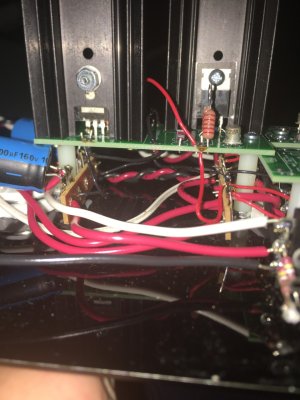
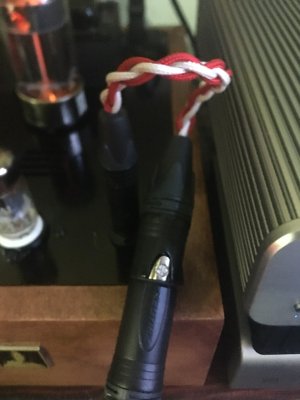
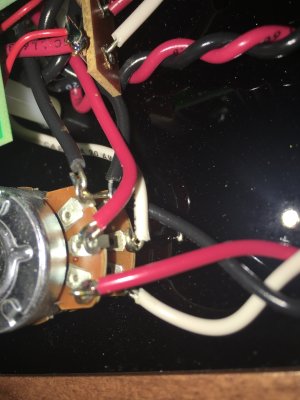
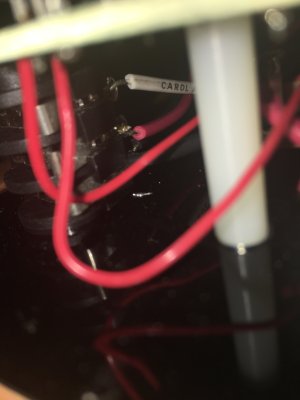
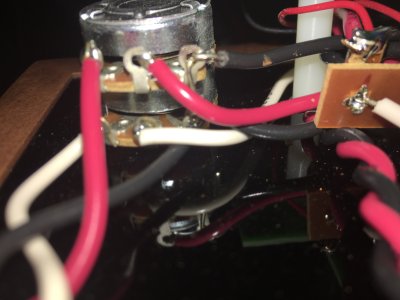
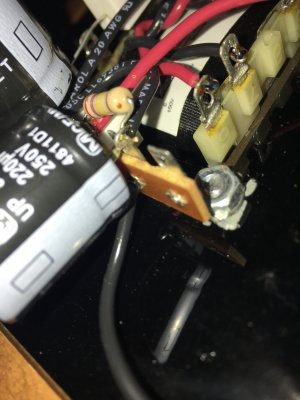
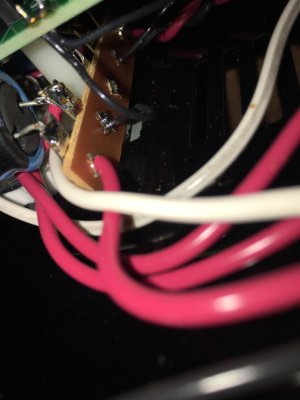
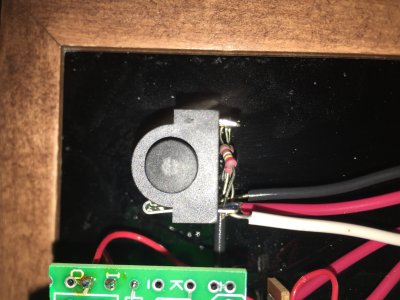
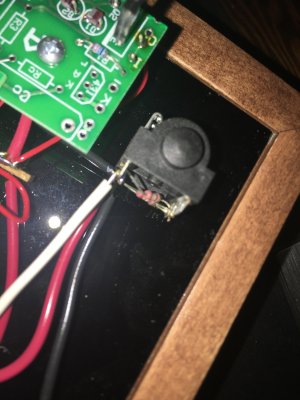
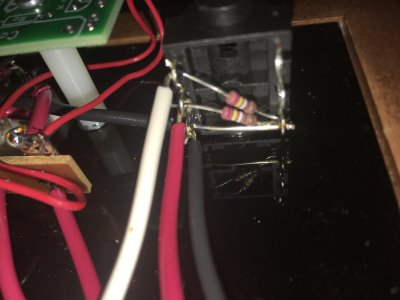
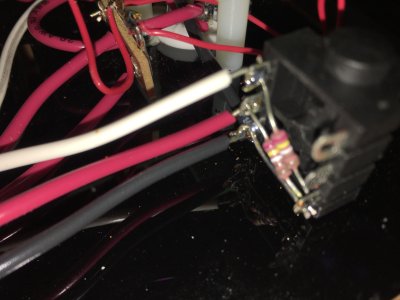
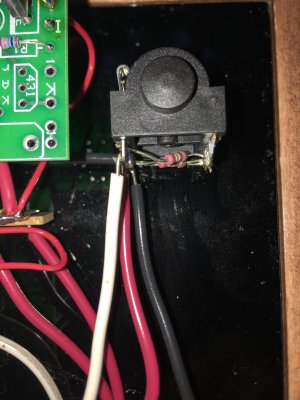
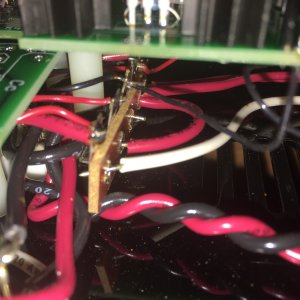
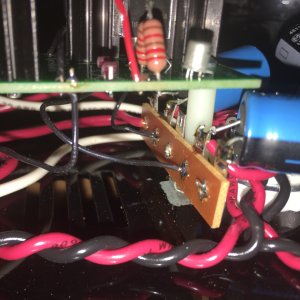
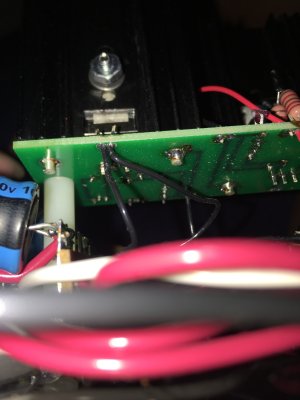
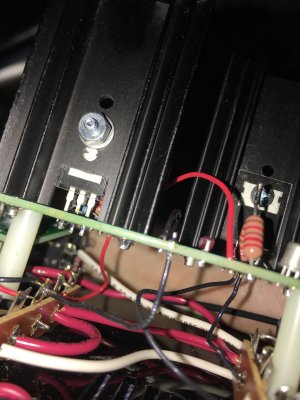
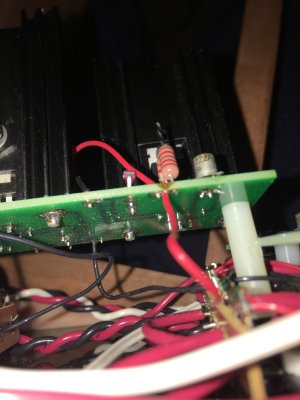
Hello, I recently bought a used bottlehead crack with the speedball upgrade from the AVexchange sub-Reddit. but for some reason audio that’s only supposed to be in the left channel is in the right channel and vice versa. does anyone have any idea how to fix this? I hope it’s not the wiring because I have no experience soldering 😅
 
Can you post some photos of the build? If you pull out the left RCA cable, do you at least only get audio in one channel?  How about the right RCA cable?
 
Paul Birkeland said:
Can you post some photos of the build? If you pull out the left RCA cable, do you at least only get audio in one channel?  How about the right RCA cable?
just tested that and I still hear audio in both channels with only one RCA plugged in. sure, here's some photos of the build.
 

Attachments

  • Crack 1.jpg
    Crack 1.jpg
    236.2 KB · Views: 24
  • Crack 2.jpg
    Crack 2.jpg
    152.8 KB · Views: 10
  • Crack 3.jpg
    Crack 3.jpg
    220.4 KB · Views: 9
  • Crack 4.jpg
    Crack 4.jpg
    216 KB · Views: 9
  • Crack 5.jpg
    Crack 5.jpg
    288.9 KB · Views: 12
  • Crack 6.jpg
    Crack 6.jpg
    211.1 KB · Views: 11
iTM_Havok said:
just tested that and I still hear audio in both channels with only one RCA plugged in. sure, here's some photos of the build.

Does this hold true for just using the left jack and just using the right jack?

Can you post a picture of the plug on your headphones that you're plugging into the amp?
 
Paul Birkeland said:
Does this hold true for just using the left jack and just using the right jack?

Can you post a picture of the plug on your headphones that you're plugging into the amp?
Yes it does. I'm using a 4-pin XLR cable with my 6XX and a 1/4" adapter.
 

Attachments

  • Headphone cable.jpg
    Headphone cable.jpg
    209.9 KB · Views: 27
Just a guess, I'd say that the XLR adaptor is shorted. You should be able to easily check that with a meter. Why are you using that? It looks as if you have the original headphone jack.
 
Deluk said:
Just a guess, I'd say that the XLR adaptor is shorted. You should be able to easily check that with a meter. Why are you using that? It looks as if you have the original headphone jack.
I’m using the adapter because it makes switching between my Burson soloist 3XP and crack easier. but I’ll try using the original cable that came with the 6XX and see if that fixes it.
 
Deluk said:
Just a guess, I'd say that the XLR adaptor is shorted. You should be able to easily check that with a meter. Why are you using that? It looks as if you have the original headphone jack.
Just tried using the cable that came with the 6XX and the crosstalk is still happening.
 
Paul Birkeland said:
Can you post some more detailed photos of the headphone jack wiring?
sure, here's some more photos of the headphone jack wiring and where the wires go to.
 

Attachments

  • image4.jpg
    image4.jpg
    2.2 MB · Views: 3
  • image0.jpg
    image0.jpg
    1.3 MB · Views: 3
  • image3.jpg
    image3.jpg
    1.7 MB · Views: 4
  • image6.jpg
    image6.jpg
    1.9 MB · Views: 2
  • image7.jpg
    image7.jpg
    1.9 MB · Views: 3
  • image5.jpg
    image5.jpg
    2.3 MB · Views: 4
  • image2.jpg
    image2.jpg
    865.9 KB · Views: 9
  • image1.jpg
    image1.jpg
    1.6 MB · Views: 6
  • image9.jpg
    image9.jpg
    1.8 MB · Views: 6
  • image8.jpg
    image8.jpg
    988.8 KB · Views: 8
The "O" pads on the bigger Speedball board look like they might be wired together, which they shouldn't be.  That would combine both channels at the output and cause your problems. This would definitely be the first time anybody has ever done that...
 
Paul Birkeland said:
The "O" pads on the bigger Speedball board look like they might be wired together, which they shouldn't be.  That would combine both channels at the output and cause your problems. This would definitely be the first time anybody has ever done that...
which photo is that in? also, is that something that can be easily fixed if I send my amp to bottlehead to be repaired?
 
Carefully unscrew the two screws that hold the larger PC board to the amp, then let it lay down and post a photo of the wires on the bottom of the amp.

This is a repair you can do on your own.
 
Paul Birkeland said:
Carefully unscrew the two screws that hold the larger PC board to the amp, then let it lay down and post a photo of the wires on the bottom of the amp.

This is a repair you can do on your own.
I unscrewed the larger PCB board from the amp. do you mean take photos of the wires under the larger PCB? I can't do this on my own if I need a soldering iron... I don't own one.
 

Attachments

  • crack2.jpg
    crack2.jpg
    218.6 KB · Views: 9
  • crack1.jpg
    crack1.jpg
    245.9 KB · Views: 8
Unscrew that PC board and lay it down, then post a photo of the wires on the bottom.  If I'm seeing what I think I'm seeing, you'll just need some kind of cutter.
 
Just for further information, your kit wouldn't be eligible to be sent in for repair unless we can't sort this out here. As it stands, I believe there's an extra wire that needs to be removed, and it would be completely silly for you to pay a bunch of money to send the kit to me to clip this wire out.
 
Paul Birkeland said:
Unscrew that PC board and lay it down, then post a photo of the wires on the bottom.  If I'm seeing what I think I'm seeing, you'll just need some kind of cutter.
Alright, I did that and took some pictures of the wires at the bottom of the PCB. but after I took the photos I screwed the board back down and now there's another issue.  I started hearing static and crackling when I tried playing music and now no audio is coming out of the headphone output at all.
 

Attachments

  • image1.jpg
    image1.jpg
    1.7 MB · Views: 13
  • image0.jpg
    image0.jpg
    2.5 MB · Views: 10
  • image3.jpg
    image3.jpg
    1.8 MB · Views: 15
What I thought was an extra wire is simply a mistake.  One of the two black wires in your first picture needs to go to the other "O" terminal on the other side of the board.  This miswire will combine both of your channels.  Whoever built this did not perform a voltage check when it was complete, that's for sure!

I let Eileen know that you will need to send this kit in for repair since you don't have a soldering iron available to complete these repairs on your own.
 
Back
Top