AstromanoftheFuture
New member
I ordered my Stereomour II kit in the summer of 2019. But it wasn’t really until summer 2020 that I started working on it, very slowly! I finished up in early November 2020, and meant to post here... but didn’t... UNTIL NOW!
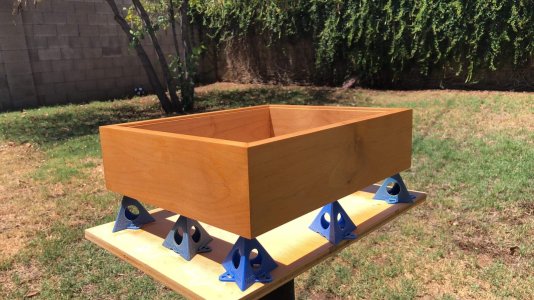
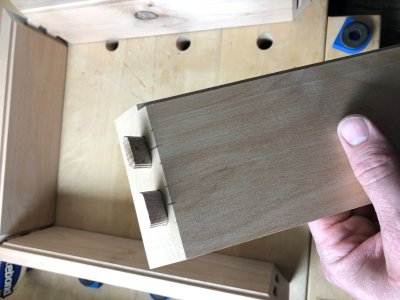
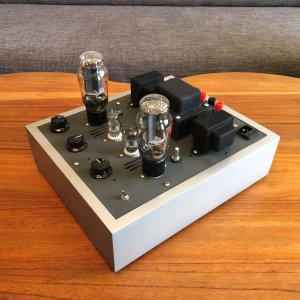
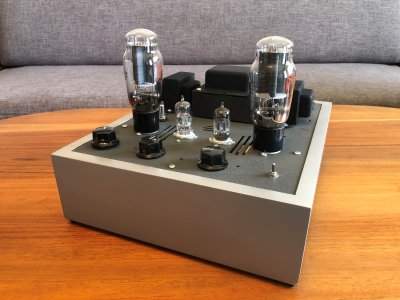
I probably spent more time fussing with the base and the top plate than anything else. I reinforced the corners of the alder base with festool domino tenons. I originally finished it with a precatalyzed lacquer, but I wasn't happy. I tweaked the color a bit with a lacquer toner, and was still unsatisfied. So I stripped all the lacquer off. I then coated it with a silver acrylic based enamel. I’ve lived with that so far, but I’m thinking of stripping that off too, and veneering, or perhaps a new solid wood base.
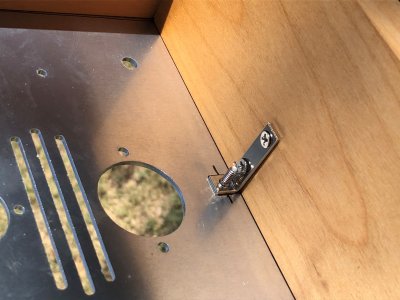
I purchased some keystone (#708) right angle brackets via digi-key to secure the top plate to the wood base.
I used VHT wrinkle coat paints on the top plate, main trafo, and chokes. I know wrinkle coat is a pain to keep clean (believe me I know), but I love the look on old projectors and radios.
This was my first build. I had looked for quite a while at different 2a3 (and 300b) schematics, but I was more than a little overwhelmed. A kit seemed right for me for a first time build. I have purchased but not yet done the shunt regulator and DC upgrade kits. I wanted to live with/break in the amp for awhile before making changes. I'm looking at eventually changing the caps too, I know a lot of people on here have gone with Clarity MR.
I probably spent more time fussing with the base and the top plate than anything else. I reinforced the corners of the alder base with festool domino tenons. I originally finished it with a precatalyzed lacquer, but I wasn't happy. I tweaked the color a bit with a lacquer toner, and was still unsatisfied. So I stripped all the lacquer off. I then coated it with a silver acrylic based enamel. I’ve lived with that so far, but I’m thinking of stripping that off too, and veneering, or perhaps a new solid wood base.
I purchased some keystone (#708) right angle brackets via digi-key to secure the top plate to the wood base.
I used VHT wrinkle coat paints on the top plate, main trafo, and chokes. I know wrinkle coat is a pain to keep clean (believe me I know), but I love the look on old projectors and radios.
This was my first build. I had looked for quite a while at different 2a3 (and 300b) schematics, but I was more than a little overwhelmed. A kit seemed right for me for a first time build. I have purchased but not yet done the shunt regulator and DC upgrade kits. I wanted to live with/break in the amp for awhile before making changes. I'm looking at eventually changing the caps too, I know a lot of people on here have gone with Clarity MR.