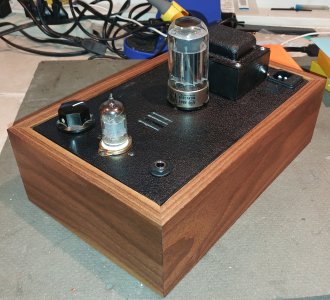
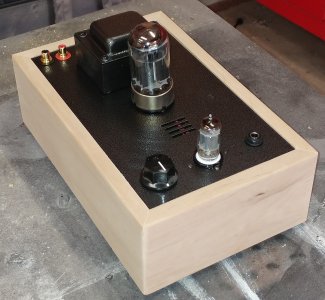
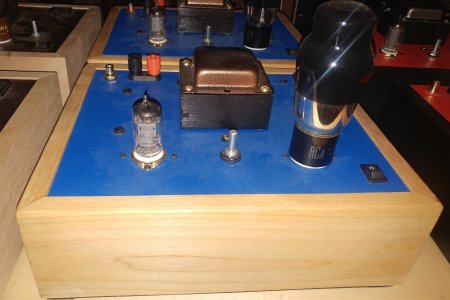
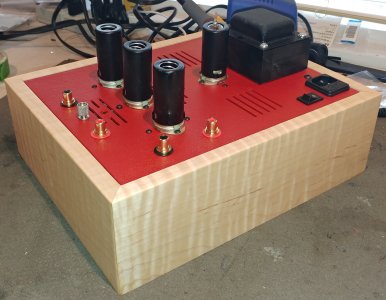
Here are some photos of various BH kits that I have built for myself and other folks with some of the finishes and wood species that I stock.
You are using an out of date browser. It may not display this or other websites correctly.
You should upgrade or use an alternative browser.
You should upgrade or use an alternative browser.
Kit Assembly Gallery
- Thread starter Paul Birkeland
- Start date
D
Deke609
Guest
The amp looks great. Bu what really caught my eye was the cool wallpaper.
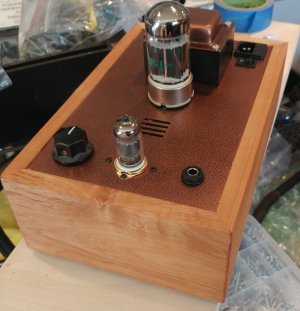
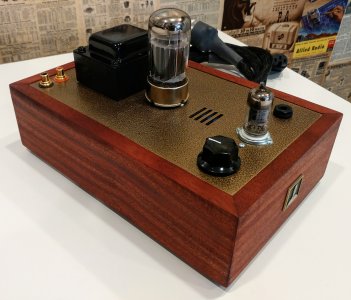
A customer came to me and wanted a Crack built that more or less matched his Victrola phonograph. The wood for these was listed as "red mahogany", and it did indeed look like actual mahogany, so I purchased a piece with good straight grain and some red dye and made a red base that looks quite similar. The top plate is done in gold vein to give it a bit of an antique look.
...My fingers are still red in a few spots.
...My fingers are still red in a few spots.
Attachments
I can do it either way, but it's far easier to setup on a table saw.
I'll have to get setup with some external image hosting.
-PB
-PB
Is it the case that you built and glued up the base, then just left it in the dye for a week? Or were there multiple soaking sessions? I've never used a dye before but I'm considering something different for the Kaiju/BeePre (and eventually Eros). I've been staining and finishing a scrap piece of alder over the past week to see what I want but haven't found anything I liked yet.
If I could have made enough dye to submerge the wood, I would've considered it! Instead it was a brush application several times a day for many days until it didn't get any darker.
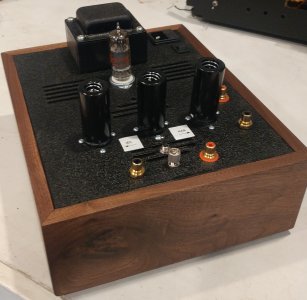
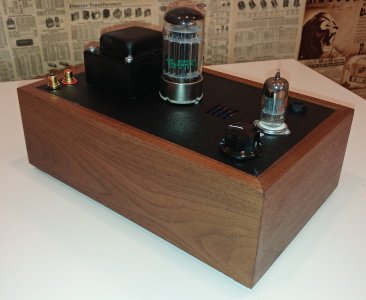
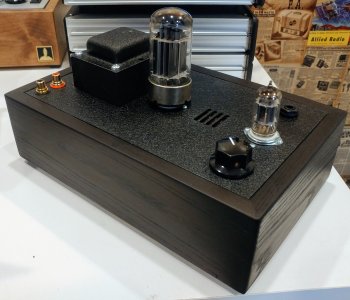
Paul Birkeland said:Here's a black Crack I just completed. The owner wanted the base to match some other components and furniture with a black ash finish, so I built a base out of ash and soaked it in black dye over the course of about a week.
That looks awesome!
Joe.
mcandmar
New member
Paul Birkeland said:Here's a black Crack I just completed. The owner wanted the base to match some other components and furniture with a black ash finish, so I built a base out of ash and soaked it in black dye over the course of about a week.
Lovely job Paul, especially that wood base. A quick tip for the screws, dip the heads into some Birchwood Casey Perma Blue and they will instantly blend in.
Similar threads
- Replies
- 2
- Views
- 22K