I wanted to share a few notes as I progress through the build so future builders can benefit.
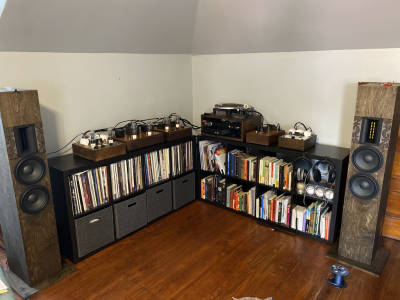
Really looking forward to finishing these over the next week or so. I’ll post more notes as I have them.
- The inductor leads on mine were a bit short. Where I needed to, I soldered wire to the lead ends to make them fit.
- I used a QuadHands workstation and that helped me keep the wires somewhat organized. You’re going to need something since you end up with a lot of long, thin wires.
- The packing on the kit was really, really nice. The boxes obviously went through some hell getting here but everything arrived in great condition. Kudos to the team on that.
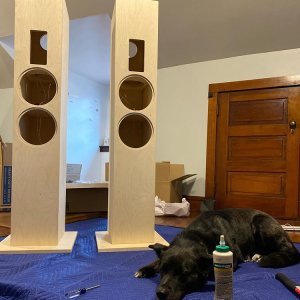
- The dry fit is so, so critical. Even after I thought I worked out the kinks, though, some things shifted somehow when I added glue. I was frantically scrambling to “persuade†pieces into place. A rubber mallet was super helpful.
- I bought a large moving blanket and used that as my assembly area. That seems to have worked just fine
- I’d also recommend assembling where the speakers will live. The 150 pound shipping weight isn’t a lie, and hauling these things up the steps once completed would be a big ordeal
Really looking forward to finishing these over the next week or so. I’ll post more notes as I have them.