Build update

iamjanco

New member
Hi folks,

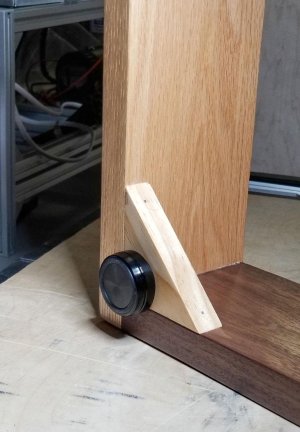
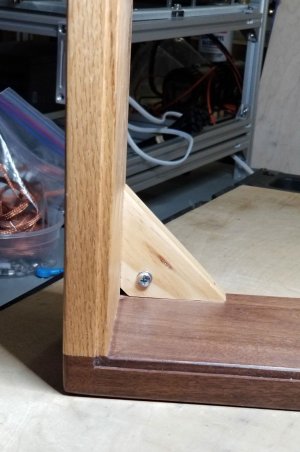
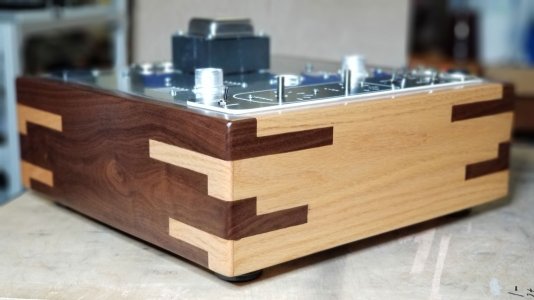
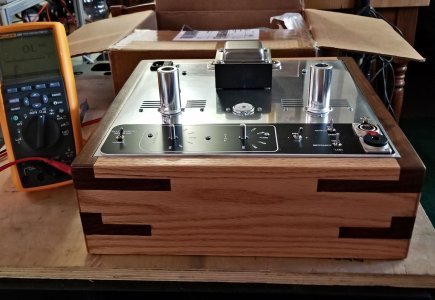
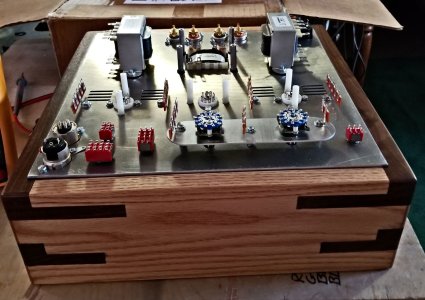
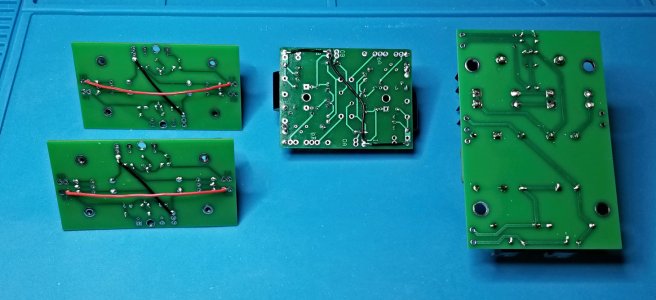
Back in June I mentioned that I picked up an unbuilt Mainline kit via ebay and I just managed to to start working on it the past few days. I decided not to go with a custom panel of my own design and used the panel that comes with the kit instead, polishing out its top surface to a semi-mirror gloss. I did opt for a custom frame as mentioned in my original thread, the results of which follow in the attachments below.

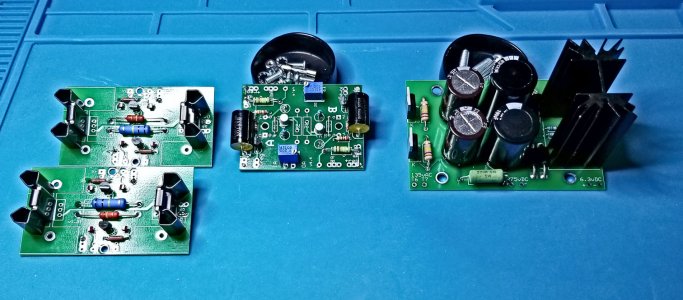
Anyway, I was able to assemble the hardware and circuit boards and now am getting ready to do the chassis wiring.

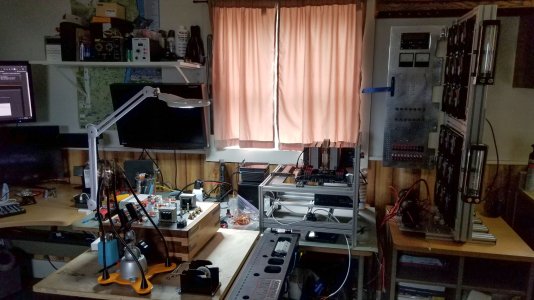
Figured I'd share the results thus far, just in case anyone's interested.

Cheers and Happy Holidays!


Attachments

  • mainline-build1.jpg
    mainline-build1.jpg
    245.5 KB · Views: 82
  • mainline-build2.jpg
    mainline-build2.jpg
    263 KB · Views: 64
  • mainline-build3.jpg
    mainline-build3.jpg
    240.1 KB · Views: 33
  • mainline-build4.jpg
    mainline-build4.jpg
    166.9 KB · Views: 19
Thanks guys  :)

Though I'd love to, I can't take credit for the base myself, as I had a local craftsman (jmgwoodworking.com) make it for me after working out the design with him. It was pretty reasonable though, given the work involved. Around $185. Pretty nice guy, works out of his home.

Cheers
 
Thanks, already thought of that earlier on. Not only because of aesthetics, but also to provide some airflow and a bit of dampening/isolation. I repurposed the feet I had from an old computer build and added them today:


Attachments

  • mainline-build-feet3.jpg
    mainline-build-feet3.jpg
    175.8 KB · Views: 25
  • mainline-build-feet2.jpg
    mainline-build-feet2.jpg
    205.2 KB · Views: 23
  • mainline-build-feet1.jpg
    mainline-build-feet1.jpg
    206.5 KB · Views: 38
Jan, +1 on all the positive comments on the base, quite unique. The top plate must have taken a lot of time/work. Did you clear coat it?
Karl
 
Thanks, Karl. About 4 hrs or so to sand out the stock finish and polish it through 5000 grit.

I didn't clear coat it because I wanted it to match the main control/test panel for my computer test bench, which I use to bench computer components (currently also in rebuild status). I do know aluminum oxidizes though, but have come up with a way I'm happy enough with to keep the oxidation down to a minimum (requires occasionally rubdown with a white compounding bar and a polishing cloth).
 

Attachments

  • test-bench-update-121419.jpg
    test-bench-update-121419.jpg
    411.1 KB · Views: 36
Amp looks Sweet! Good luck.
Maybe a coat of wax on the aluminum?
Aluminum oxidizes instantly and forms a protective coat that resists further corrosion.
An aluminum plate will look nice for a long period of time if not exposed to moisture or corrosive substances such as salts.
Just my 2 cents worth.
Enjoy!!


Thanks T :)

I might just give wax a go when I get everything finished. I did ponder it way back when, but never took the idea any further.

Any recommendations as far as wax goes?
 
Hey iamjanco,
I have not used wax on aluminum myself but I was just speculating. As you have already built up the top plate it will probably be a pain to apply an aerosol sealer of sorts, that's why I suggested wax.
As I stated as soon as you sand or polish aluminum it oxidizes almost instantly which is a good thing if you think about it.
the second thing you have going for you is that you polished the surface. A polished surface does not promote corrosion as mush as a pitted surface (in iron or steel and I would presume in aluminum also) there are many grades of aluminum such as 2000, 3000 5000, 6000, and 7000 etc. each having different properties.
I used to work in a company that built submersible boats and we used to submerge raw aluminum in sea water for extended periods of time to see the effects of corrosive environs. materials such as 6061 and 5052 aluminum faired very well. 2005 alum did not fair so well. But having said that I would not think this will be a problem with an audio amp chassis plate unless your girlfriend waters the plants that may over your amp. Don't laugh as this has happened to me in the past. Water and electronics do not mix well.
I'm not a rocket scientist but I used to be submarine surgeon.
Best wishes.
Lee
 
Oh I almost forgot as I am addle brained. we did the tests on raw aluminum and all production parts were hard coat anodized
mostly in grey or black but you can get clear anodizing that will last forever in a home environ.
It just seems like it may be to late to do this to your amp at this point as you would have to dissemble the amp to get the top plate anodized.
Peace.
 
A lot of the time anodizing is more hassle than it's worth.  Around 2010 I was tasked with evaluating every anodizing outfit available in the Seattle area, and none of them could produce a satisfactory finish and not damage the parts I sent them. 

I have worked on lots of Bottlehead gear that's 30+ years old with raw grained aluminum and I've never seen any corrosion.

 
Pb,
As I stated raw aluminum will look fantastic in a home environ for a long time regardless of the material.
anodizing will add an extra surface protection but it should be done before any assembly is done.
as this fellow has polished his raw top plate before assembly I am sure it will not need any further treatment and will look fine for a generation to follow.
 
Of course, not to worry.  I actually quite like the idea of polishing the panels, as you can polish out future scratches endlessly!
 
Gentlemen, we have glow (see the attachment). Had to tear the attenuators apart and fix an issue discovered during the resistance checks, but it seems to be in order now. Just basic voltage checks left now, bias adjustment, and should be good to go until actual listening tests occur.

My old eyes had trouble differentiating between clockwise and counterclockwise when I set the rotation up on the switches.


Attachments

  • mainline-build-8.jpg
    mainline-build-8.jpg
    171.3 KB · Views: 42
Thanks, Lee, likewise to you  :)

Voltage checks and bias adjustments are now c/w:


Attachments

  • mainline-build-voltage-checks-bias-adjustments.jpg
    mainline-build-voltage-checks-bias-adjustments.jpg
    111.1 KB · Views: 20
Back
Top