#8 solder tab

benzxc

New member
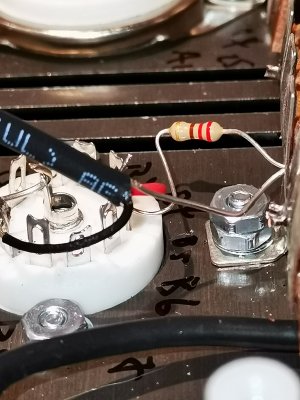
So my kit is missing the #8 solder tab and instead I received three #6 solder tabs. Is it possible to use the #6 solder tab in the place where I am supposed to use the #8?

I checked with two of my local hardware stores and neither of them stocked the solder tabs. Amazon doesn't ship to where I am either. So if it is possible for me to do use what I have, it would save quite some time and hassle!

Thanks,
Ben
 
Yeah, I've had to use #6 in place of #8 a couple of times. Works fine - there's no magic to the sizing other than #6 can be difficult to get on the threads of a #8 bolt.  What I do is carefully bend one of the star points of the tab up and the next one down, and so on - and then trim the bent points a bit with flush cutters. The only reasons for the alternating up/down is to create some space around the points for the flush cutters.


cheers, Derek
 
Cheers! Glad it worked. It would be frustrating to halt a build while waiting for a single $0.15 part!
 
It's also worth mentioning that the outside dimensions of the #6 and #8 solder tabs are about the same, while the only real difference is how long the inner teeth are.  It can be rather difficult to tell them apart visually, and it's super easy to accidentally overlook the #8 solder tab as a #6.
 
By the way, any tips for removing the shielded wire and stripping the wires inside? I had a little bit of trouble removing and stripping them by simply cutting the wires. I eventually got it to work by cutting real slowly and there are still quite a bit of shielded wires left since a lot was provided but it would be nice to know if there is a preferred method to do so.

Thanks,
Ben
 
Yes, go slowly when you take off the outer jacket.  One of those hardware store wire strippers that has the row of differently sized strippers can take the black jacket off reliably, and a normal wire stripper for fine wire can be used on the inner solid core wires.
 
I successfully stripped the shielded wires! But when I was stripping the last one required for the build, I accidentally clipped a bit of the drain wire as well. It is not cut through, but there is a noticeable clip where the outer jacket was removed. Is this going to be a problem?

Now that I'm run out of the shielded wires, I hope I don't have to get some more (I assume they can be bought at hardware stores). If it's a problem, would it be ok if I simply pull a bit of the drain wire from the remaining portion of the shielded wire?

I know it's probably hard to troubleshoot this issue without a photo but for some reason my phone camera is acting up and not letting me take a photo. Will upload a photo as soon as I can.

Thanks,
Ben 
 
I think it still looks ok.
If it feels firm, i'd keep it just like you have.
And if you have some portion of it remaining on the other side of the wire, you could test for continuity.
 
It looks like you only nicked the outer tinning, so I'd say you are fine. The only purpose of the drain wire is to connect the tinfoil shield wrapped around the larger wire bundle to ground so that any induced currents (interference) in the tinfoil shield can "drain" to ground. We're talking about very small currents. It's not part of the either the signal wiring or the power wiring.


At most I'd guess that the nick in the drain wire has reduced the amount of mechanical stress (e.g., repeated bending) that the wire can take. But that's not an issue b/c it won't be subjected to mechanical stress.


[And I'll add: this is coming from someone (me) who is obsessed with shielding and drain wires - I add copper shielding to pretty much every wire I can and am pretty fussy about it. And that nick in the drain wire wouldn't bother me  ;) ]


cheers, Derek
 
Derek,

Thanks a lot!  Great information to know!

Paul,

Thanks!  Just to double check - I just went over the manual and on page 15 it states that I was supposed to mount two #4 nuts on the terminal strip.  Did I do something wrong there? 

Ben
 
Back
Top